Custom Domain
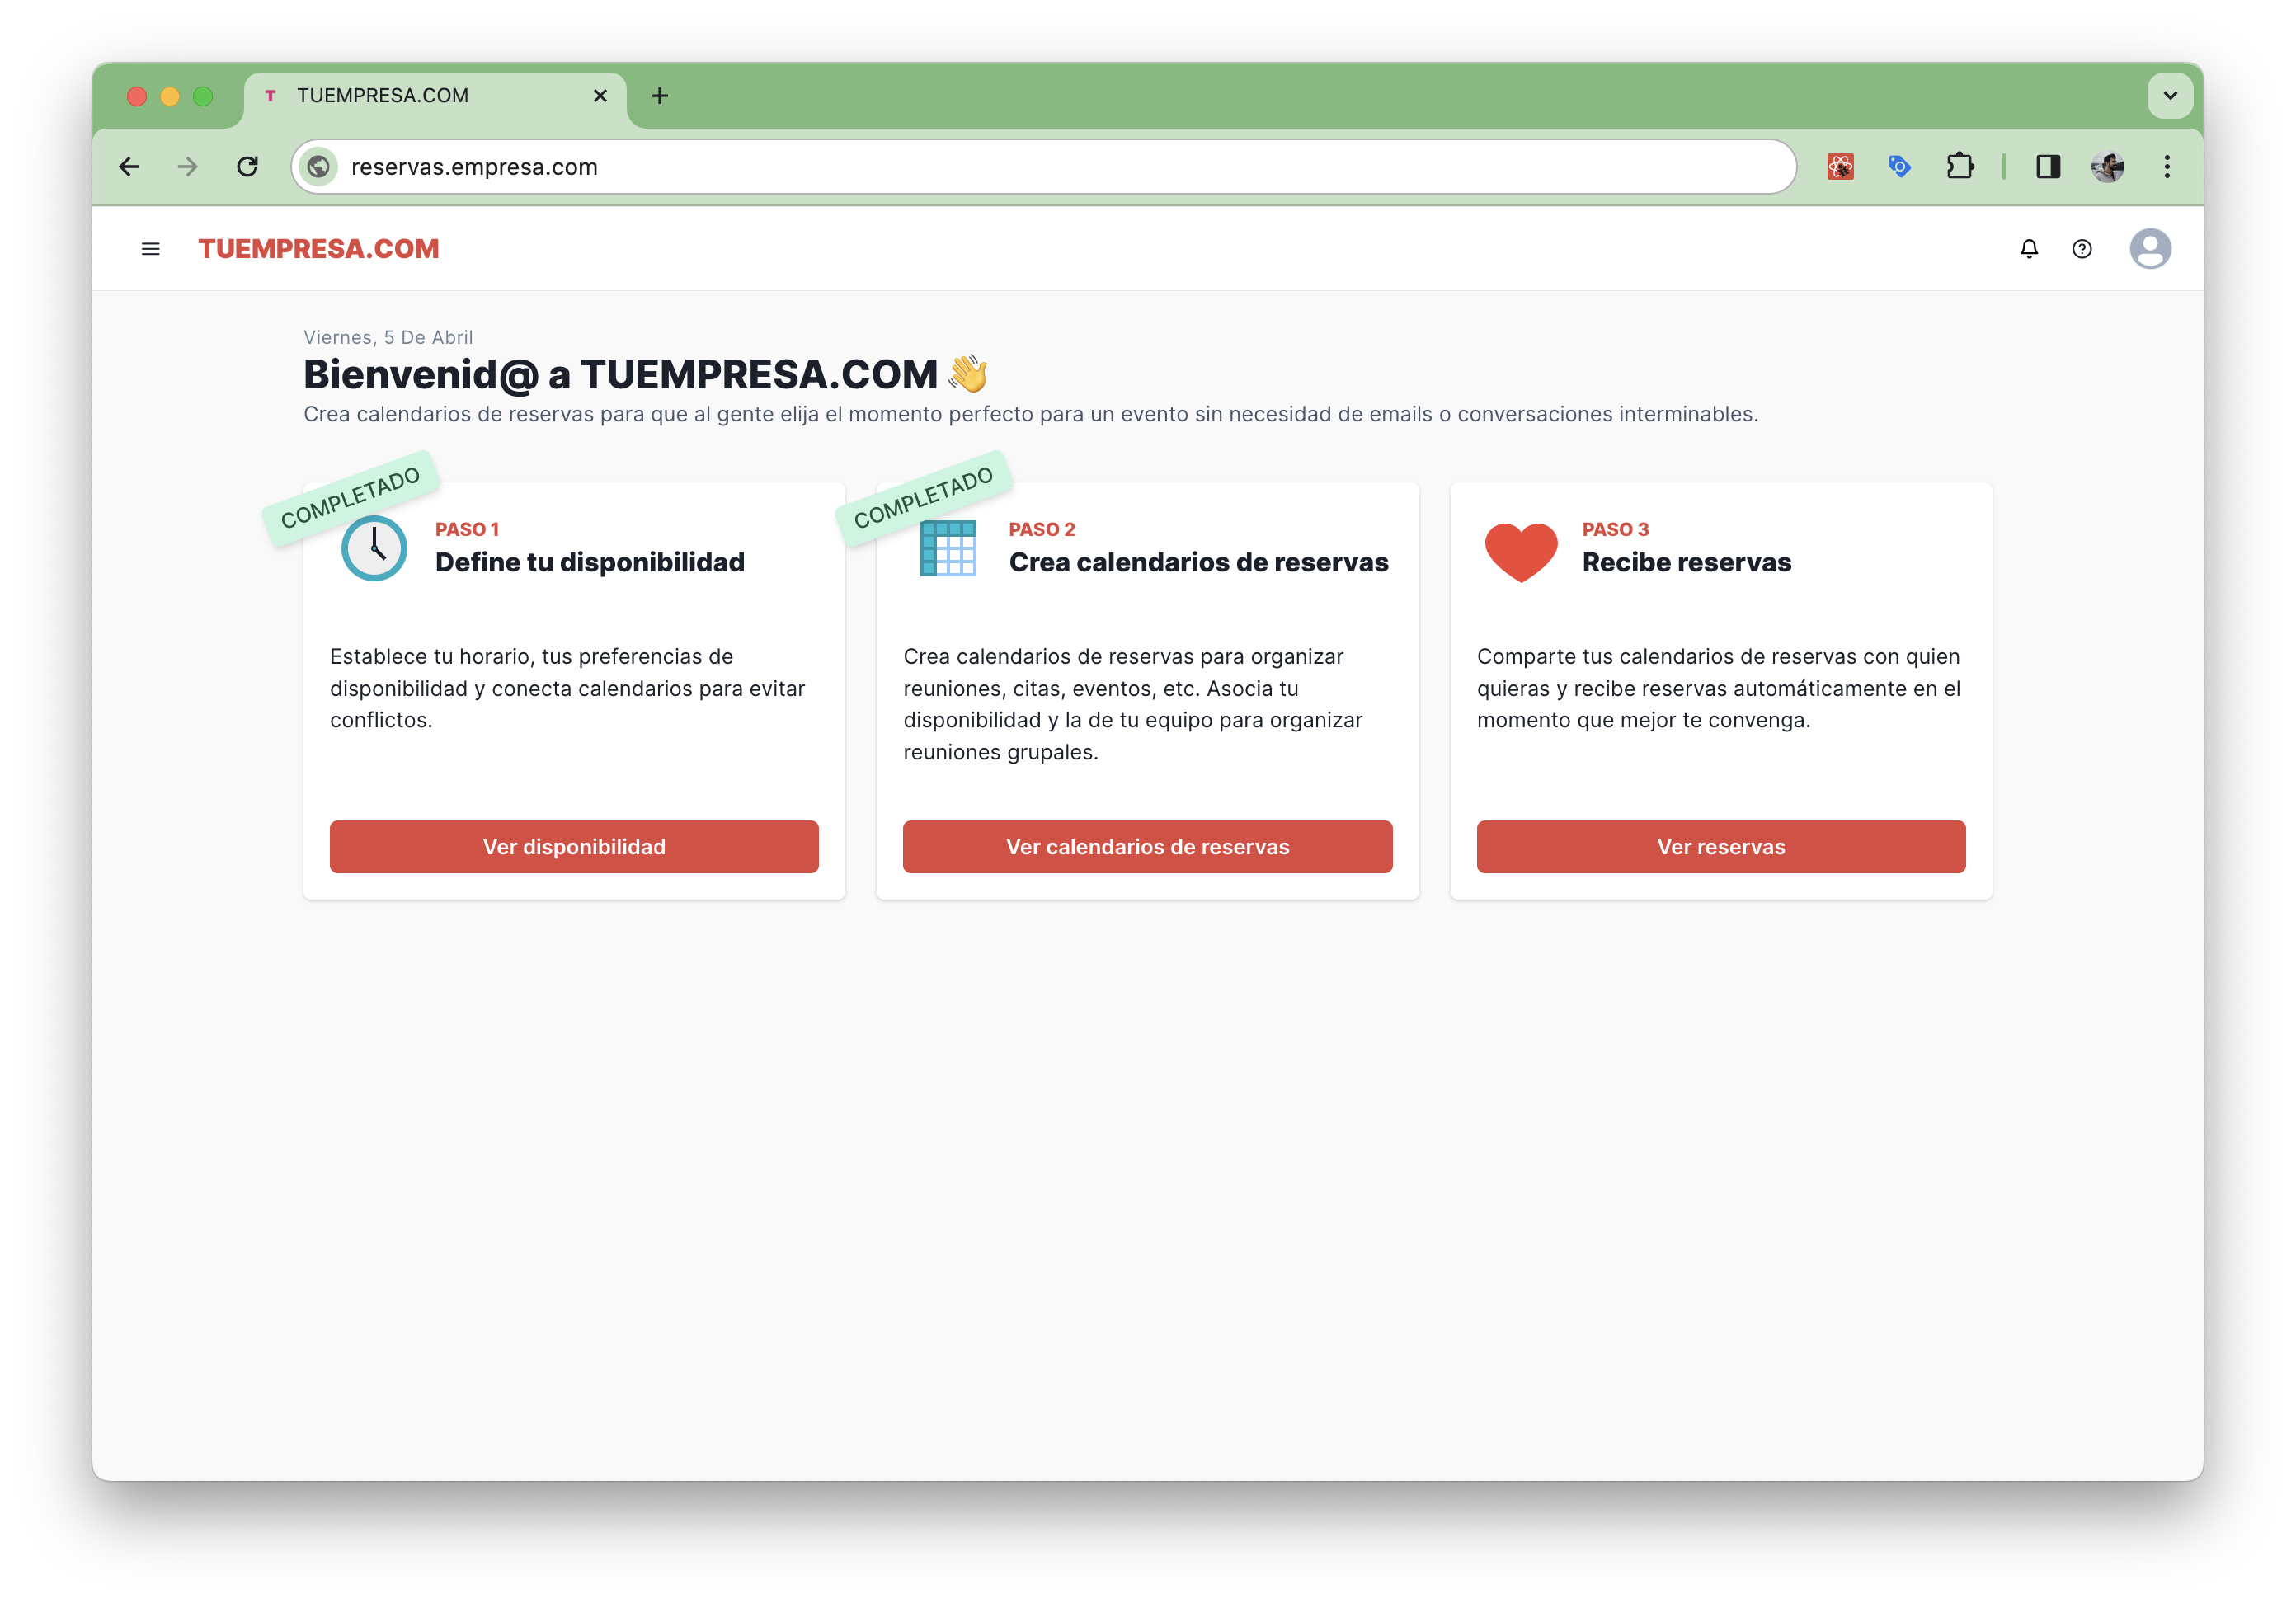
TimeTime enables the setup of a fully customizable booking website under your own domain, such as bookings.example.com, completely automated without requiring any engineering resources.
The outcome is something similar to this and only requires adding a DNS record.
Prerequisites
Before starting, make sure you have:
- A verified TimeTime account with access to self-hosting features.
- Control over your domain's DNS settings.
Step 1: Configure Your Domain
- Choose a Subdomain: Select a subdomain for your TimeTime service, such as
bookings.yourdomain.com. - DNS Setup: Point your chosen subdomain to TimeTime's servers by adding a CNAME record in your DNS settings. The exact value and where it should point will be provided by TimeTime.
Example:
Type: CNAME
Host: bookings
Value: <TimeTime-provided value>
TTL: 3600
Step 2: Customize Your TimeTime Instance
After setting up your domain, customize your TimeTime instance to match your brand's look and feel.
- Logo and Branding: Upload your company's logo and customize the color scheme through the TimeTime dashboard.
- Custom Domain: Ensure your custom domain is correctly linked within the TimeTime settings.
- Service Setup: Define the services, availability, and pricing as needed for your business model.